
Audio to Blog Post; Step-by-Step Content Creation Guide
Learn how to efficiently convert audio content into engaging blog posts with transcription tools and structured processes.
Want to convert your audio into blog posts quickly and efficiently? Here's how:
- Choose a Transcription Tool: Tools like TalkNotes offer over 95% accuracy, support 100+ languages and unlimited generations.
- Record Quality Audio: Use a good microphone, quiet space, and clear speaking techniques.
- Transcribe and Edit: Upload your audio, clean up the text, and format it for readability.
- Optimize for SEO: Add keywords, headers, and links to boost search engine visibility.
- Streamline the Process: Use templates and AI tools to save time and maintain consistency.
Quick Comparison of Transcription Tools:
| Tool | Best For | Key Features | Monthly Price |
|---|---|---|---|
| TalkNotes | Content Creators | Blog formatting, Blog Post Planner, 100+ languages | $9 |
| Otter.ai | Meeting Notes | Live transcription, integrations | $16.99 |
| Descript | Video Editing | Audio/video editing, transcription | $19 |
| Trint | Journalists | Real-time feed, 50+ languages | $80 |
| Rev | High Accuracy | Human transcription option | $14.99 |
Simple Way to Transcribe Audio and Convert to Blog Post
Step 1: Pick Your AI Transcription Tool
Selecting the right AI transcription tool is key to turning your audio recordings into well-written blog posts. With modern tools achieving over 90% accuracy, a clear audio recording minimizes the need for heavy editing.
Features to Look For
When choosing a transcription tool, focus on features that directly affect your workflow:
| Feature | Why It Matters | Priority Level |
|---|---|---|
| Accuracy | Ensures quality transcriptions and reduces editing time | Critical (35%) |
| Language Support | Helps create content in multiple languages | High (15%) |
| Speed | Keeps your workflow efficient | Medium (10%) |
| Customization | Handles industry-specific terms | Medium (10%) |
| Integration | Works with your existing tools | Medium (10%) |
| Cost | Affects your budget and scaling options | Medium (10%) |
| Security | Keeps sensitive data safe | Standard (5%) |
| User Experience | Simplifies your workflow | Standard (5%) |
A great example of a tool with these features is TalkNotes.
Why TalkNotes Stands Out
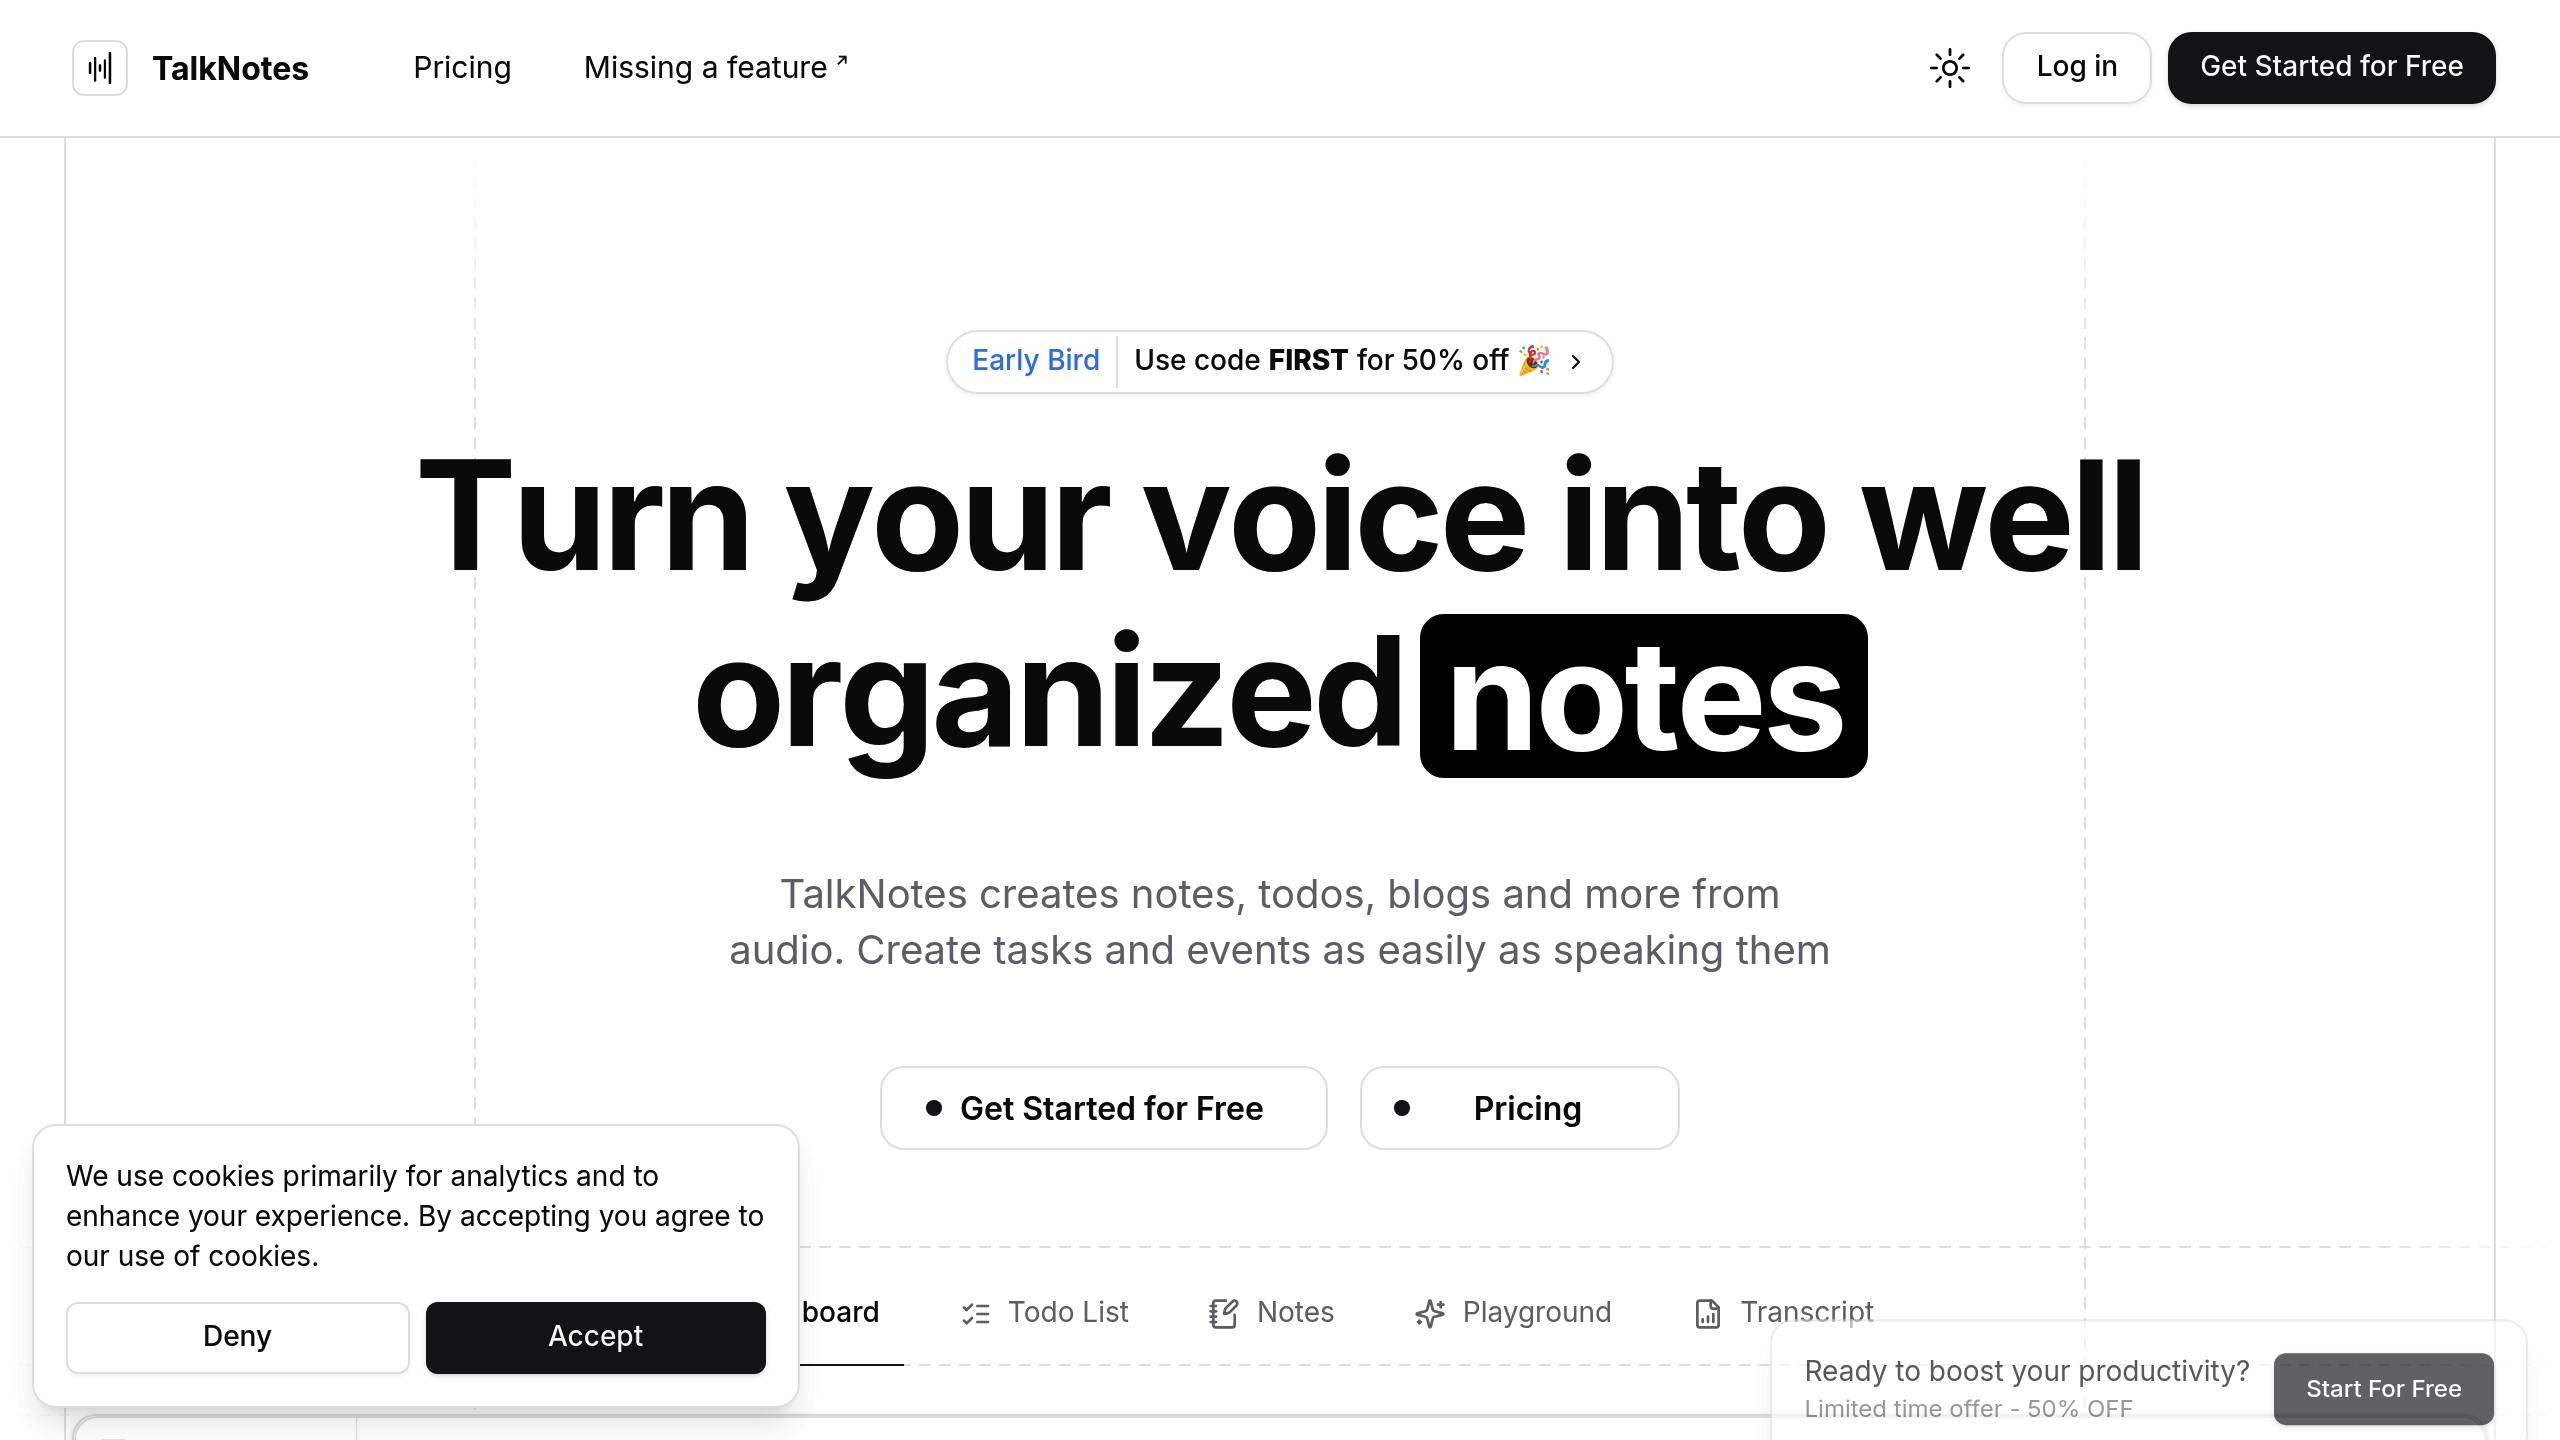
TalkNotes supports over 100 languages and includes features like AI task analysis, note-taking, and audio processing. It also offers built-in tools for creating blog content. Pricing is competitive at $7.50 per month (annual plan) or $9 per month (modular plan). Its real strength? Converting audio into various content types with high accuracy and flexible customization.
Comparing Popular AI Transcription Tools
Here’s a quick look at how some leading tools compare:
| Tool | Best For | Key Features | Monthly Price |
|---|---|---|---|
| TalkNotes | Content Creators | 100+ languages, blog formatting tools, unlimited generations | $9 |
| Otter.ai | Meeting Notes | Live transcription, integrates with video calls | $16.99 |
| Descript | Video Editing | Audio/video editing with transcription | $19 |
| Trint | Journalists | Real-time feed, supports 50+ languages | $80 |
| Rev | High Accuracy | Human transcription option, fast turnaround | $14.99 |
This table can help you choose the right tool to streamline your content creation process.
Key Factors for Blog Post Creation
When preparing transcripts for blog posts, keep these considerations in mind:
- Integration: Make sure the tool works smoothly with your CMS and other workflow tools.
- Editing Interface: Look for an intuitive interface that makes it easy to correct text and format it for blog publishing.
- Export Options: Check if the tool supports exporting in formats you need, like plain text, HTML, or direct CMS uploads.
Step 2: Set Up Your Audio Recording
Once you've picked your transcription tool, the next step is creating a setup for high-quality audio recording. Clear audio is essential for accurate transcription, especially when using AI tools [5].
Tips for Better Audio Quality
The equipment and environment you use can make or break your recording. Here's a quick guide to what works best:
| Equipment Type | Recommended Option | Why It Works |
|---|---|---|
| Microphone | Directional/Lavalier | Reduces background noise, captures focused sound |
| Recording Device | Zoom F2 Field Recorder | Produces crisp, high-quality audio |
| Accessories | Windscreen, Mic Clip | Cuts interference, keeps mic steady |
| Monitoring | Over-ear Headphones | Lets you check audio in real-time |
Setting Up Your Space:
- Pick a quiet room with little to no echo.
- Position the microphone about 6-8 inches from your mouth.
- Use acoustic panels or treatments if possible.
- Switch your phone to airplane mode to avoid signal interference [4].
- Shut windows to block out street noise.
- Turn off fans, air conditioners, or other noisy appliances.
Once your setup is ready, it's time to organize your thoughts and structure your content.
Structuring Your Content
A well-thought-out plan ensures your recording flows smoothly. Use these steps to organize your ideas:
- Draft an outline highlighting your main points.
- Plan transitions between topics for smoother delivery.
- Gather examples or case studies to support your points.
- Prepare any relevant statistics or data.
- Make a note of technical terms that need precise pronunciation.
Tips for Speaking Clearly
The way you speak has a big impact on transcription accuracy. Follow these tips for the best results:
- Maintain a Steady Pace: Speak clearly and avoid rushing, especially when using complex terms.
- Project Your Voice: Keep your volume steady and enunciate each word. Use headphones to monitor your levels.
- Focus on Pronunciation: Pay extra attention to tricky elements like:
- Industry-specific jargon
- Brand names
- Technical terms
- Numbers or statistics
Once you've recorded your content with clarity and precision, you're ready to move on to transcription and editing.
Step 3: Convert and Edit Audio
Turn your audio into polished text with AI transcription tools, then fine-tune it for a blog-ready format.
Audio File Processing
TalkNotes makes converting audio to text simple with these steps:
- Upload your audio file on TalkNotes. The platform supports various formats and over 100 languages.
- Choose your output format: clean transcript, blog post, bullet-point summary, or meeting minutes.
- Process the file and review the generated text before finalizing.
Once your audio is processed, the next step is refining the text.
Text Clean-up
After transcription, focus on editing to improve clarity and readability. Here's how:
| Editing Focus | Action Items | Tools |
|---|---|---|
| Grammar & Spelling | Fix typos and syntax issues | Descript, Pictory |
| Sentence Structure | Simplify overly complex sentences | Built-in editor |
| Filler Words | Remove "um", "uh", and similar words | TalkNotes |
| Technical Terms | Ensure accuracy of specialized terms | Manual review |
Blog Format Organization
Once the text is cleaned up, structure it into a well-organized blog format.
- Content Structure: Break long paragraphs into smaller chunks (2–3 sentences). Use clear H2/H3 headers, bold important points, and leave enough white space for readability.
- Visual Elements: Add a featured image and relevant visuals to make the content more engaging.
- Navigation Features: For longer posts, include a linked table of contents. Ensure consistent formatting, add internal and external links, and use blockquotes to highlight key statistics or quotes.
Step 4: Create Your Blog Post
Once your transcript is polished and organized, it’s time to transform it into a blog post that grabs attention and performs well in search results.
Write Strong Openings and Endings
Start with an opening that hooks your readers. Here are three approaches you can try:
- Ask a question: Address a challenge your audience faces.
- Share a statistic: Begin with compelling data.
- Tell a story: Use a short, relevant anecdote to draw readers in.
For your conclusion, follow the "3S Framework":
- Summary: Highlight key takeaways.
- Impact: Explain why it matters to the reader.
- Next Steps: Offer actionable advice.
Format Your Content
Most readers only skim blog posts - research shows they typically read about 50-60% of the text [7]. To make your content easy to digest:
- Stick to short paragraphs (1-3 sentences).
- Use a line height of 1.4-1.6 for readability.
- Limit line length to about 66 characters.
- Add images throughout to break up text.
- Use H2 and H3 headers to create a clear structure.
"Does bolding important points on a paragraph help the SEO? Yes it does. It does help us to better understand that paragraph or that page." – John Mueller, Search Advocate Google [8]
SEO Guidelines
Optimize your blog post for search engines without sacrificing readability. Here’s how:
-
Keyword Placement
- Add your main keyword to the title (H1), first paragraph, meta description, URL, and subheadings.
-
Technical Details
-
Content Structure
- Use proper HTML heading hierarchy (H1-H6) to improve both readability and search performance [9].
With your blog post polished and optimized, you're ready to streamline your content creation process in the next step.
Step 5: Build an Efficient Process
Creating a repeatable workflow is key to saving time and maintaining consistency. This step brings together transcription, editing, and content structuring into a streamlined process.
Blog Templates
Templates act as the backbone of your content, ensuring every blog post follows a uniform structure and maintains quality. A master template should include:
- Header Section: Title, meta description, and space for a featured image.
- Content Blocks: Sections for the introduction, main points, examples, and takeaways.
- Formatting Guidelines: Clear rules for header levels, image placement, and styling quotes.
- SEO Elements: Markers for keyword placement and areas for internal linking.
Tools like TalkNotes can automatically apply your custom formatting. You can also enhance templates with AI tools to boost efficiency.
AI Content Tools
-
Transcription Tools
Platforms like Content at Scale can turn your recordings into SEO-friendly blog posts [1]. -
Content Expansion Tools
Joinglyph's AI Copilot (priced at $20/month) can add examples, introductions, statistics, and conclusions to your content [11].
"Instead of doing creative writing, which may take you hours or even days, instead of just spinning content through something like ChatGPT, if you really want to get some good unique content from true experts in your company or for your clients, if you're an agency, think about recording discussions, having somebody record their thoughts, ask them some questions, record their answers. You can take that, turn it into transcription." – Jesse Dolan [12]
Integrate these tools into your workflow and stick to a clear schedule to maximize their benefits.
Content Schedule Management
Weekly Planning Framework
- Monday: Record audio content.
- Tuesday: Transcribe and start initial edits.
- Wednesday: Expand content and format it.
- Thursday: Optimize for SEO and create visuals.
- Friday: Conduct a final review and schedule for publishing.
Here’s how a two-week content pipeline might look:
| Stage | Timeline | Key Tasks |
|---|---|---|
| Planning | Week 1 | Research topics, create outlines |
| Recording | Week 1 | Record audio, perform quality checks |
| Production | Week 2 | Transcribe, edit, and format |
| Publishing | Week 2 | Final review, schedule, and promote |
Regularly review analytics to see which types of audio-based content resonate most with your audience. Use this data to refine your future content plans [13].
To stay ahead, plan your content calendar at least three months in advance. This gives you enough time for recording and editing while allowing room to pivot based on trends or business priorities [13].
Conclusion
Process Summary
AI tools are transforming how audio content is turned into blogs. By combining automated transcription with smart content structuring, creators can save time without sacrificing quality.
TalkNotes boasts 99% transcription accuracy in over 50 languages. This level of precision helps users save time, showing how AI can make audio-to-blog workflows both efficient and practical.
"Anyone can use AI to generate basic, cookie-cutter stuff. But AI's way more effective in helping you write about things you're really good at. Exceptional content attracts eyeballs from social and SEO." – Tim O'Shea [14]
Getting Started
Ready to kick off your audio-to-blog process? Here’s a simple roadmap:
| Step | Action | Expected Outcome |
|---|---|---|
| Tool Selection | Choose an AI transcription tool like TalkNotes ($9/month) | Accurate, fast transcription |
| Content Planning | Prepare clear speaking points and use quality audio | Improved transcription results |
| Editing Process | Review and polish AI-generated content | Publish-ready blog posts |
| Template Creation | Develop reusable blog templates | Consistent and structured content |
Turn your voice into organized notes, tasks, blogs, journal, planner and 20+ styles, instantly with TalkNotes.tech.
